Editing Blog 2
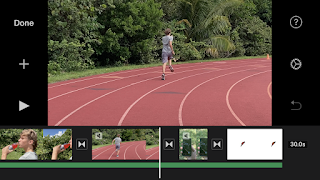
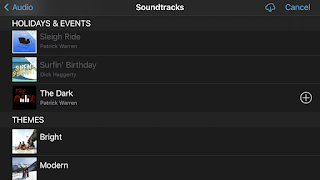
Once all the videos were put into iMovie, I put them in order. This took me a couple minutes to do since we were dealing with 10 videos. I also had to redo the process multiple times because I couldn't identify the clips by their thumbnails which caused the order to be scrambled. After I finished with the order I made transitions between the clips. This was mostly easy because iMovie had preset sections for them. In the end I went with transitions called dissolve. By the time I was done with this my partner had already picked out an audio to go with our film. Surprisingly, the audio fit really well with our film. We only needed to adjust a couple video's times before it was aligned completely. We then spent some time figuring out how to adjust the volume on film and audio. We decided to just mute the film and only get sound from the audio. After completely implementing the audio we proceeded to try filters. We were looking for a filter that might make things more visible. We then tried all the filters. After we decided not to use a filter because none of them gave us the effect we were looking for. We were thinking about using sound effects on top of the audio but ultimately rejected the idea because the ones we looked at didn't work well with the film and audio. Now that we were close to finishing we just needed to finalize the film entirely. I cut down the time on about 5 or 6 of the videos to accommodate the time requirement we had. In all I cut off about 13 seconds. This put us at 30 seconds which was exactly what we needed. At this point my group was completely done with editing. The only thing left to do is to finalize the project completely.


Comments
Post a Comment